> ## Documentation Index
> Fetch the complete documentation index at: https://moengage-user-guide.mintlify.site/llms.txt
> Use this file to discover all available pages before exploring further.
# How to Configure FCM Authentication for Receiving Push Notifications?
## Problem
Push notifications from the MoEngage dashboard are not received on Android devices due to a sender ID mismatch.
## Instructions
Perform the following steps to configure Firebase Cloud Messaging (FCM) authentication:
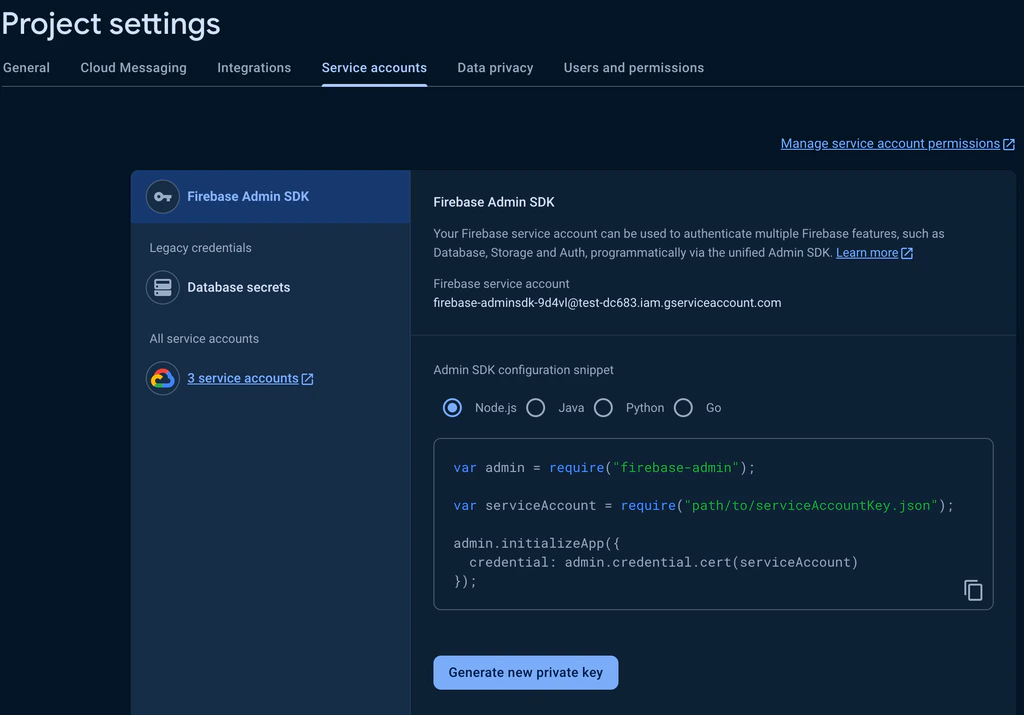
1. Open the Firebase console and go to the **Projects settings** section.
2. On the **Service accounts** tab, click **Generate new private key** to download the private key in JSON format, regardless of the selected language.
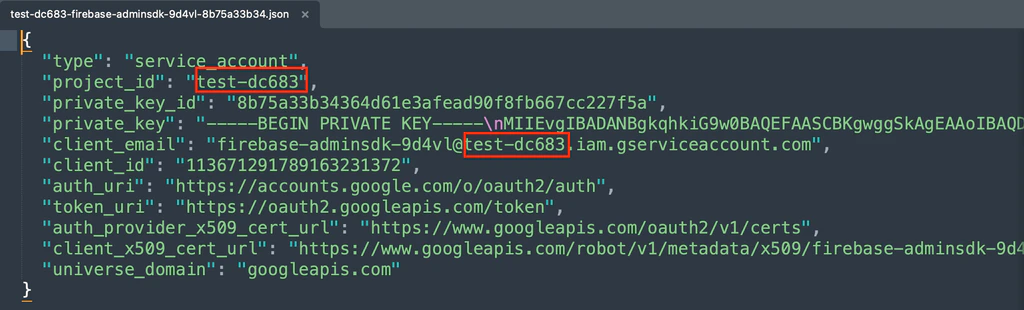
 3. Open the downloaded private key JSON file and verify that the project\_id matches the one in your google-services.json file in the root directory of your Android project.
 4. On the left navigation menu in the MoEngage dashboard, go to **Settings** > **Channels** > **Push**.
5. On the Push page, click the **App push** tab, and then click **Android (FCM)** tab.
6. Click **Private key file (Recommended)**.
7. Use the **Choose file** button to upload the private key JSON file and click **Save**.
4. On the left navigation menu in the MoEngage dashboard, go to **Settings** > **Channels** > **Push**.
5. On the Push page, click the **App push** tab, and then click **Android (FCM)** tab.
6. Click **Private key file (Recommended)**.
7. Use the **Choose file** button to upload the private key JSON file and click **Save**. 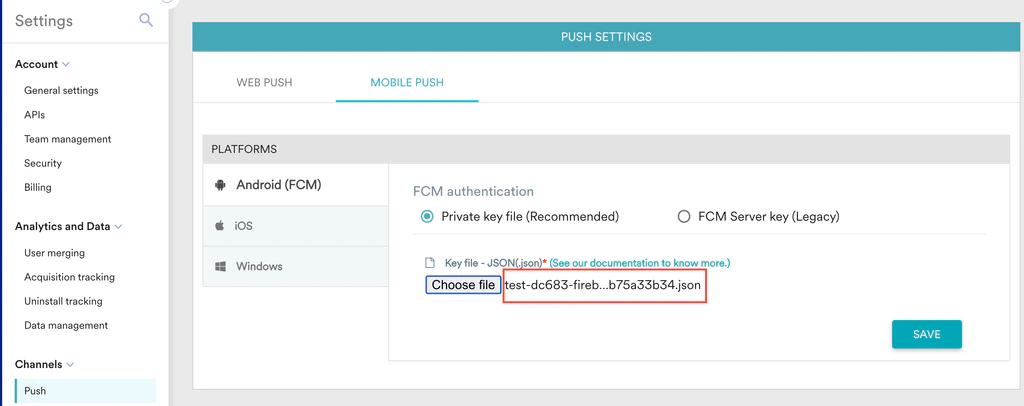 \
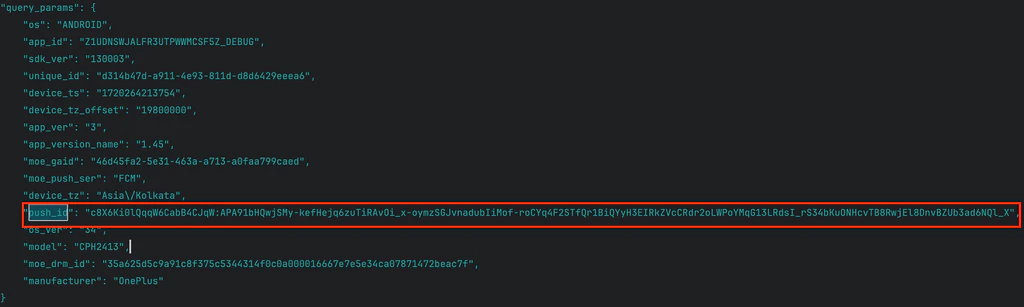
Now you will see the request body of the report call with the push\_id in the Logcat window of your integrated development environment (IDE), registering the device and project on the MoEngage dashboard.
\
Now you will see the request body of the report call with the push\_id in the Logcat window of your integrated development environment (IDE), registering the device and project on the MoEngage dashboard.
 8. In the MoEngage dashboard, navigate to **User Profile** > **User Info** > **Reachability** > **Push.** A green tick mark will confirm that the Android device can receive push notifications.
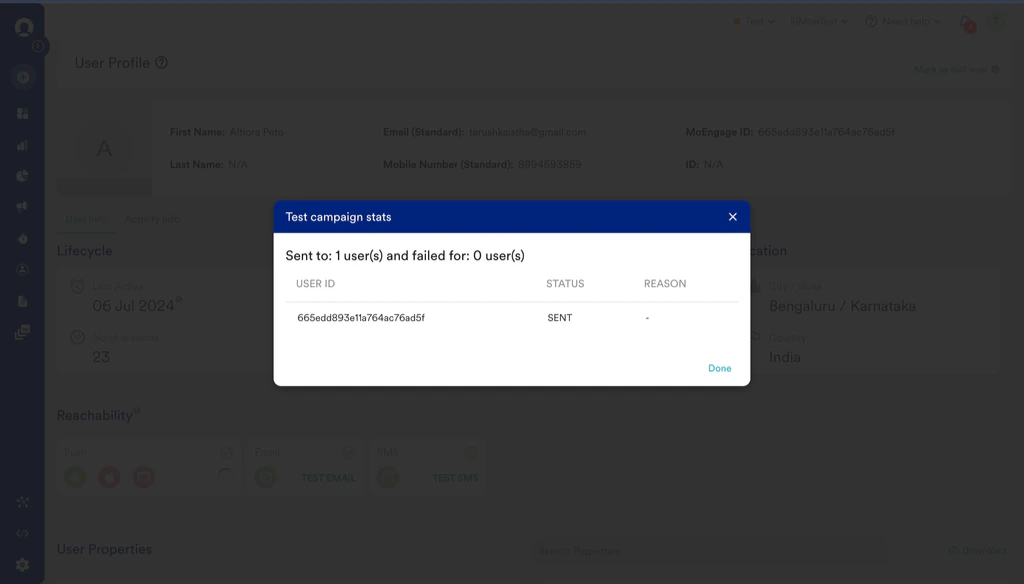
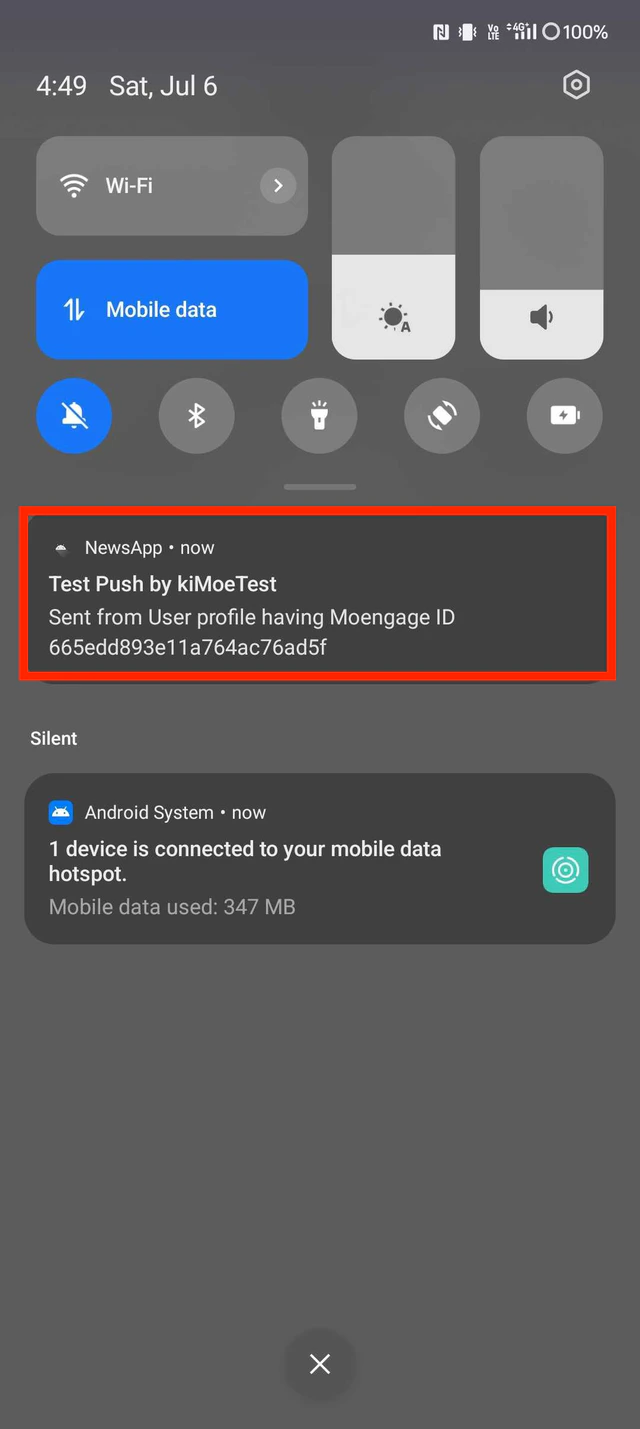
 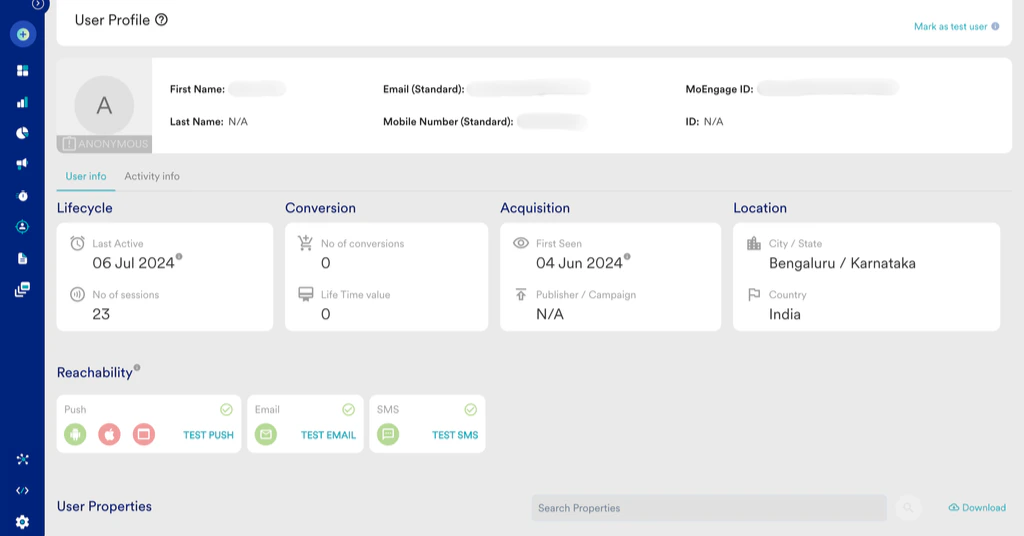 9. Click **TEST PUSH**. You will see the **STATUS : SENT** indicating that the device was reachable and the notification was received.